A joint project of Transition Putney and Post Oil Solutions
This 10’x12’ greenhouse was built as a result of a collaborative project between Transition Putney and Post-Oil-Solutions on 2011-2012. It has been used during the winter of 2012, and all of 2013 (to present) with varying success. A second hoop house was built with minor modifications (details below) edits to the first unit or suggestions are in green type.

The Greenhouse Project aims to show people that it is possible, with very little skill, to build an affordable, homestead size greenhouse using recycled or easily available materials.
If you decide to build a similar structure, individually or as a neighborhood, and therefore give yourself the opportunity to grow food almost year round, we hope this page helps.
Building the Greenhouse
– Level out a little patch of land slightly bigger than the greenhouse so 12 x 14 would give you plenty of room.
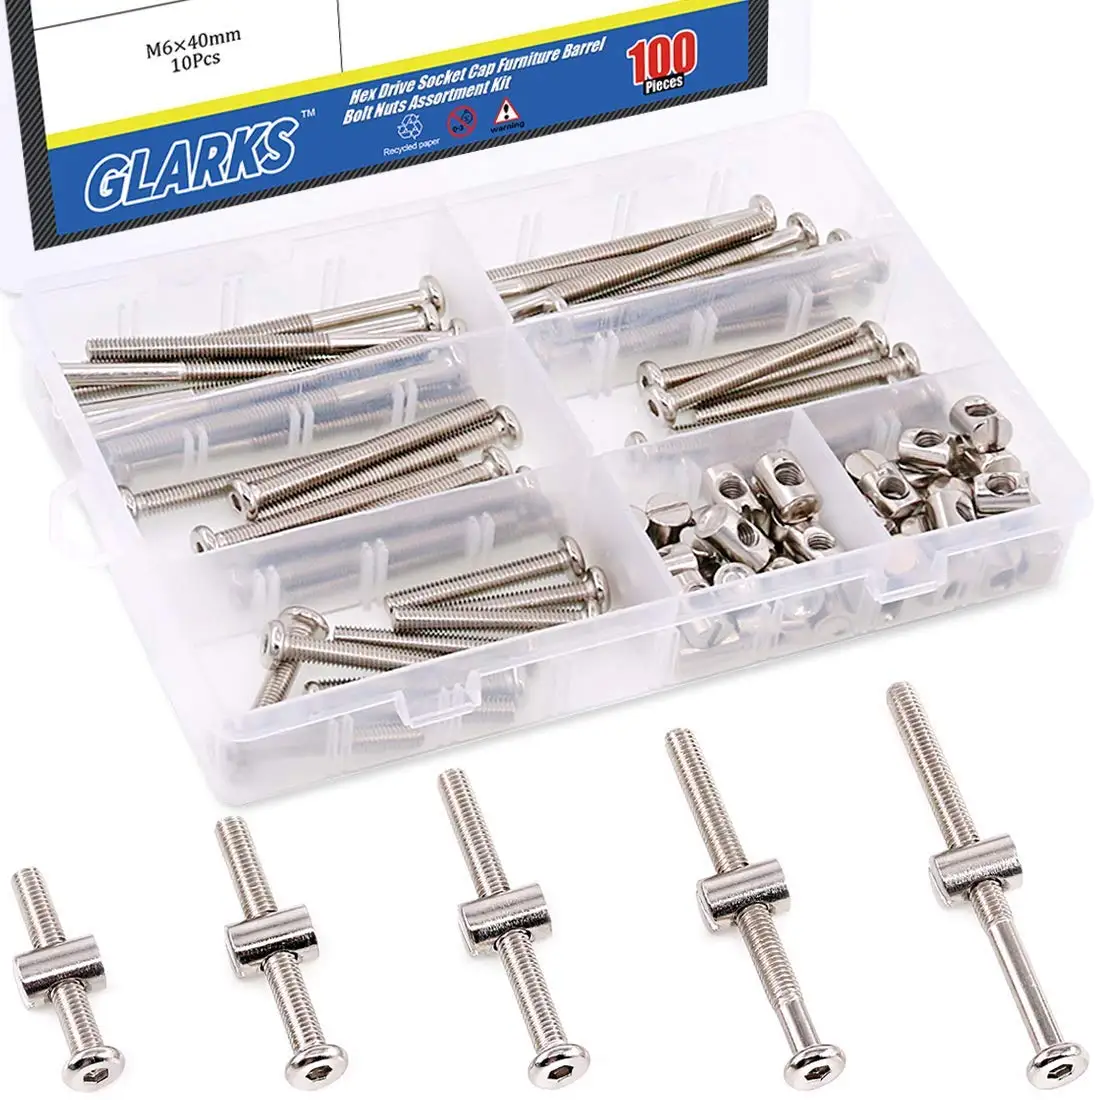
– Put the base frame together by connecting the two 10′ (2X4) to the two 12′ (2X4) with the lag screws or fancy furniture bolts like Glarks Zinc Plated M6 Hex Socket Head Cap Screws Bolts
– With the pressure of the PVC pipes that we will set up later, the long side of the greenhouse (i.e. the 12′ 2X4) can tend to bow out a little. Therefore, at this point, we drive a couple stakes in the ground along the sides of the greenhouse to hold the frame in place. Square up your frame.
– Screw the pipe clamps in the long side of the frame. (Or pre-drill the ends of the pipe with two 1/8″ holes 3 to 4″ apart) It is better to have two clamps on each side. Use 11/2″ screws and do not get them to tightly in but leave them as little loose so that you can slide the pipes in during the next step. ( If you do this without pipe clamps – have someone hold the pipe and a level. Proceed to screw in the pipes. you can adjust height later if needed)
– Slide each 10′ PVC pipe in the galvanized clips and tighten the screws as you go along.
With the hoops in place, the structure should start to look like a greenhouse. You just have to put some braces on to make things sturdier.
– With the help of another person, you are now going to install the hip board and the ridge board. At about hip height, about 4′, attach a 1X6 (2×2) board to the hoops with some pipe clamps (screws). You may want to make a mark every 2′ on the board to make sure that you are spacing the hoops properly and they are level. When you have secured the two hip boards on either side of the structure, do the same on the top ridge of the greenhouse. (One thing we at the garden observed was that thinner wood in version 2 (right side) let more light into the structure, so the second version used 2×2″ for most interior bracing – i think the top board was x6″.)
– to make the structure sturdy, we now have to install some diagonal braces. First, let’s cut 6 (2X4) to a length of 8’9″. These 2X4 will brace the greenhouse sideways and you will have to adjust the cuts to secure the bottom of the brace to the base frame and the top of the brace to the ridge board. Figure 4 gives you an example of the cuts you could use.
There are 6 braces. Two are used at each end of the structure and two are used in the middle, along the 4th hoop.
– You now have a pretty sturdy skeleton and to finish it, you just have to add a end walls, a door or two and put some clear plastic over it.
Once you have built the door and you are ready to put the plastic on, get a group together – use wind to help pull the plastic over, and secure the plastic by using three 1X6 boards that you will screw into the hip and ridge boards. (this was omitted in the second version for a cleaner look, we secured the plastic in the ground along the base and inside the end-walls.) It is also easier to replace the plastic, if it is not screwed in to the hoops from the outside.
That should be it. Good luck, have fun and if you have any questions, email me at simoninvermont@gmail.com
Simon or Daniel
daniel@putney.net
List of Materials
Lumber:
2 (2X6) 12’ (pressure treated)
2 (2X6) 10’ (pressure treated)
6 (2X4) 10’ (2×2″)
4 (2X4) 8’ (2×2″)
6 (1X6) 12’ (1/2 x 3″ strapping)
4 (1X6) 6’ (not needed)
PVC pipes for the hoops:
7 (1”) 20’ PVC pipes
Hardware:
50 (1”) metal clips for the PVC pipes (to hold the pipes) (not needed if you screw through the ctr of the pipe)
8 (1/2 “) 3” long lag screws (or Glarks Zinc Plated M6 Hex Socket Head Cap Screws Bolts – available at hardware stores)
100 (3/4”) wood screws (not needed if not using clips)
75 (1 ½”) coated decking screws
100 (2 1/2″) coated outdoor wood / deck screws
Hardware for the door: (and walls)
screen door metal braces
hinges low profile or outdoor type is best.
On the versions at the Putney Gardens I built end-walls made of 2×2 framework, and double walled plastic, because it’s more rigid plastic provides a more professional appearance. You can order this by the sheet from garden supply houses, and sometimes piggyback an order from local farms if they are doing a larger job.
Greenhouse illustrations PDF